
So after doing a recent tutorial on how to create a fire/flame effect without using any plug-ins, and then posting the animation preset for it for free download, I still felt like it was missing something. All wood fires typically produce orange or yellow flames like the ones we created in the fire effect tutorial, and wood fires almost always have sparks or embers rising from the flames.
With that in mind, I’ve had a go at creating a floating ember effect that partners with the flames preset rather well. No plug-ins needed BUT it requires CC Snowfall, and not the earlier version CC Snow. And that means that it only works for CS5.5 upwards. The tutorial is only four minutes long and the technique itself is pretty simple. So take a look, and remember that you can download the animation preset for free from the store.
VIDEO VERSION
TEXT VERSION
First, create your new composition. The effect values I’m using here are based on the 1080p HD preset; you can make it as long as you need. If you haven’t already, it’s a good idea to set the background to black so that you can see what you’re doing more clearly.
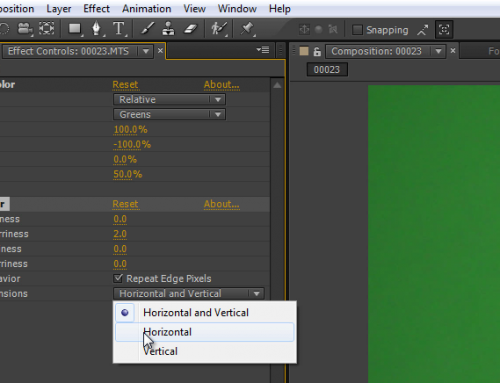
If you seeing a checkerboard pattern in your Composition panel, it means that you’ve got the Transparency Grid switched on. You can switch this off clicking on the Transparency Grid button under the preview.
Next, create a new Solid that matches your composition settings, and call it Embers. The colour you choose doesn’t matter as it’ll become transparent in the following step.
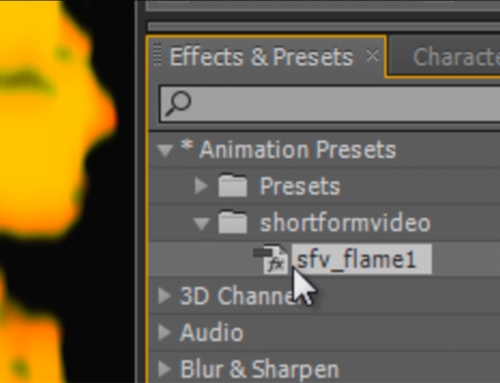
Go to your Effects and Presets panel, find the CC Snowfall effect, and drag it onto the Embers layer. Then, in the Effect Controls panel, change the following settings:
- Set the Flakes value to 50, and the Speed to 1000.
- Change the Wind value to 200 and the Wind Variation to 100.
- And finally, set the Spread to 90 and untick the Composite With Original box.
The next step is to find your Glow effect and add this to your Embers layer. Select Alpha Channel from the drop-down menu, and drop the Glow Threshold to 0. Increase the Glow Radius to 13, the Glow Intensity to 3, and then move down to the Color A and Color B values.
Open the Color Picker for Color A and enter the following RGB values: 255, 138 and 0. Then 167, 0, 0 for Color B.
When you scrub through the timeline, you’ll find you’ve got some pretty nice embers happening, but there’s one tiny problem – they’re all heading in the wrong direction, which is hardly surprising giving that we’re using the CC Snowfall effect.
The earlier version of this effect would let you reverse this, but CC Snowfall doesn’t. Fortunately, there’s a pretty simple solution. Just select the Embers layer, hit ‘R’ on your keyboard to bring up the rotation value, and change it to 180. This will flip your layer, so now your embers are rising, rather than falling.


Leave A Comment
You must be logged in to post a comment.